

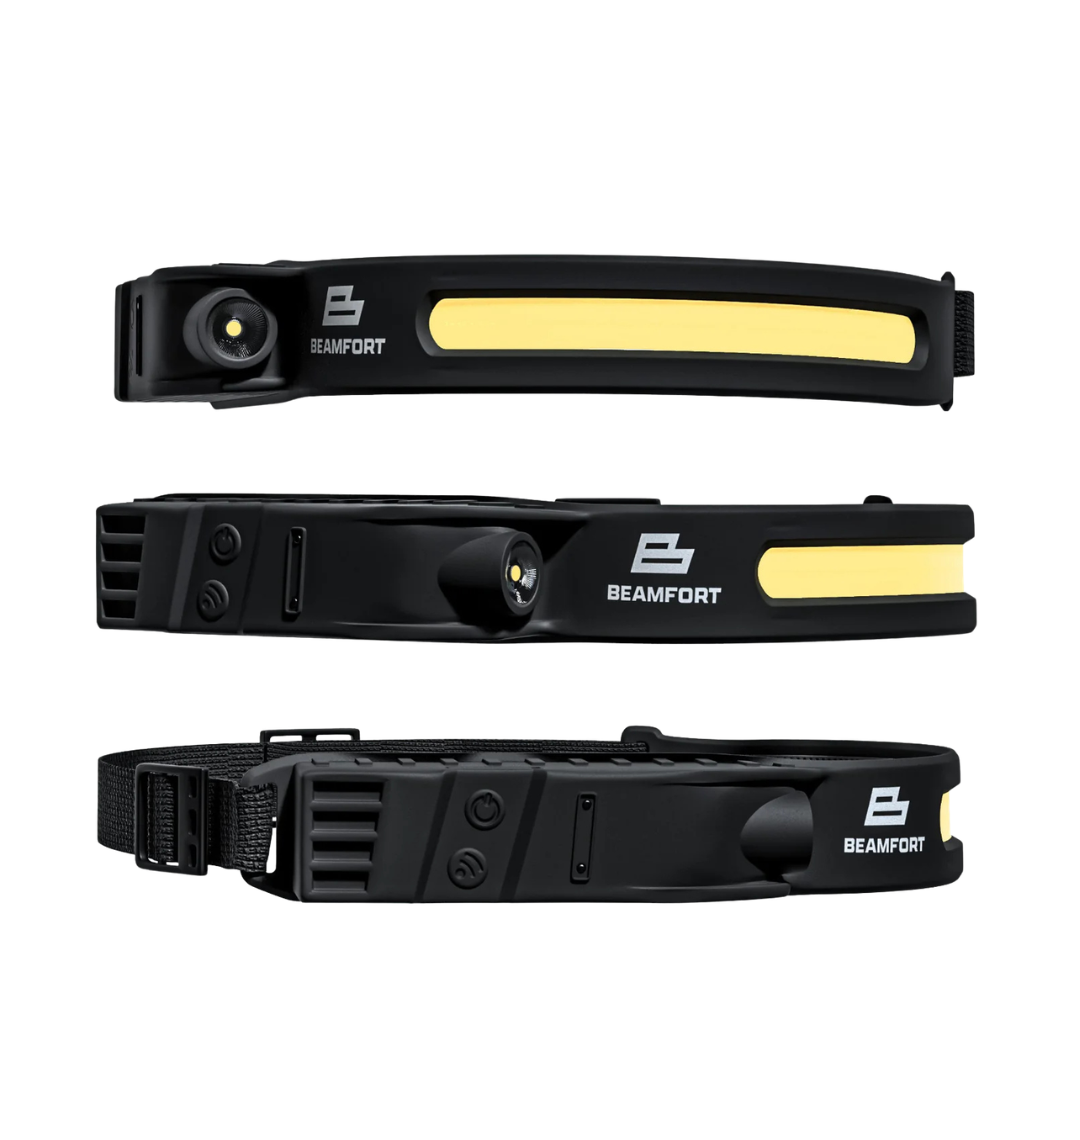
Construction work can move from open framing to cabinets, crawl spaces, mechanical rooms and exterior tasks in a single day. The best headlamp for construction work is therefore not simply the brightest model: it should provide a useful wide beam, a separate option for looking farther ahead, practical lower settings, enough runtime for the task, a secure fit and controls that are easy to use when your hands are occupied.
A personal headlamp is supplemental task lighting. It does not replace the general, temporary or emergency illumination required by a worksite, and it does not replace required PPE. OSHA’s construction illumination standard sets minimum levels for work areas in the United States, while Canadian guidance emphasizes reducing glare and shadows. Follow the rules, hazard assessment and safe-work procedures that apply to your site.
1. Start with beam shape, not maximum lumens
A narrow beam can create a bright circle while leaving the rest of your work area dark. For close construction tasks—marking, fastening, routing material or checking an assembly—a wide flood beam can make the immediate area easier to scan without repeatedly turning your head.
A spotlight still matters when you need to inspect a distant surface, trace a route or see along a corridor. A headlamp that provides both flood and spot options is more adaptable than one beam used for every task. For a deeper comparison, see our guide to flood beams versus spotlights.
2. Choose useful brightness levels
More light is not always better. High output can be useful in a large dark area, but it can also reflect from metal, glass, white finishes and dust. At close range, a lower setting may improve comfort and preserve battery life while still showing the work clearly.
Look for distinct settings rather than judging a headlamp only by its maximum lumen number. The Beamfort Pro COB Headlamp has four verified white-light modes: a 500-lumen COB high mode, 150-lumen COB low mode, 55-lumen SMD high mode and 15-lumen SMD low mode. That range lets you match output to the distance, surface and duration of the task.
3. Match runtime to the work—not the shift length
Runtime is measured by mode, so “rechargeable” does not mean every brightness level lasts all day. Estimate how long you will actually use the light continuously, then allow a margin for delays and unexpected work.
Beamfort lists approximately 2.5 hours on COB high, 6.5 hours on COB low, 15 hours on SMD high and 36.5 hours on SMD low. These figures make the tradeoff clear: lower modes can extend working time substantially. Charge before the job and carry a backup if losing light would interrupt safe egress or the task. Our headlamp runtime guide explains how modes affect battery life.
4. Check fit, aim and PPE compatibility
A work headlamp should stay stable when you look up, down or across a room. An adjustable band helps with fit, while a tilting lamp lets you direct the beam toward your hands without bending your neck. The Beamfort Pro has an adjustable elastic headband and a lamp that tilts 45 degrees.
If you wear a hard hat, face shield, hearing protection or other head-mounted PPE, confirm compatibility before work. Do not assume a headlamp band is approved for every helmet, and do not drill, tape or modify safety equipment unless its manufacturer and your site rules permit it. The fit must not interfere with the PPE’s protective function.
5. Prefer controls that suit real jobsite conditions
Buttons can be awkward when your hands are carrying material or covered with dirt. Motion control can reduce the need to touch the lamp: the Beamfort Pro includes a hand-wave on/off sensor. Treat it as a convenience feature, not an automatic fit for every situation. Test the control before starting and use the standard switch where accidental activation could be distracting.
A useful pre-task check is simple: turn the light on, cycle through the intended modes, confirm the aim, and make sure the charging-port cover and band are secure.
6. Understand water resistance and worksite limits
For exterior work and damp conditions, look for a clearly stated water-resistance rating. The Beamfort Pro is rated IPX4 for resistance to splashes and rain. IPX4 does not mean waterproof for immersion, and the light should be dry before charging. See what IPX4 means on a headlamp for practical limits.
Also match equipment to the hazard. A general-purpose headlamp should not be used where an intrinsically safe or hazardous-location-rated light is required. Follow the site’s classification and approved-equipment list.
7. Carry a second, independently positioned light
A headlamp follows your line of sight, which is useful until your hands or the material cast a shadow exactly where you are working. A second light placed from the side can reveal edges, fasteners and surface defects that a forehead-mounted beam misses.
The Beamfort Pocket Light is a slim USB-C rechargeable option with white task lighting and warm yellow lighting. It can serve as a compact secondary light in a pocket or tool bag. A backup also gives you another light source if the primary lamp needs charging.
A practical construction-lighting setup
- Close assembly and finishing: Begin with a wide, lower-output mode to limit glare and hard shadows.
- Route checks and distant inspection: Switch to a spotlight when you need reach rather than broad coverage.
- Reflective or light-coloured surfaces: Reduce brightness and change the beam angle before adding more output.
- Long tasks: Use the lowest mode that provides clear visibility, and keep a charged backup available.
- Changing work areas: Reassess the light whenever you move from indoors to outdoors, from open space to a confined area, or near mobile equipment.
Before the work starts
Good jobsite lighting is a system, not a single wearable lamp. The Canadian Centre for Occupational Health and Safety notes that appropriate lighting without glare or shadows can improve visibility of equipment and hazards. WorkSafeBC distinguishes general lighting from local lighting, and its rules may require emergency lighting where a primary-lighting failure would create danger. In the United States, OSHA 29 CFR 1926.56 specifies minimum illumination for construction areas.
Use those requirements and your employer’s procedures to establish the site’s general lighting first. Then use a headlamp to put task light where your eyes and hands need it. Inspect the lamp for damage, confirm its charge, clean the lens, and make sure you can leave the area safely if the personal light fails.
Which headlamp features matter most for construction work?
Prioritize a versatile beam, practical brightness settings, documented mode-specific runtime, stable adjustment, suitable controls, a clear water-resistance rating and compatibility with your required PPE. The Beamfort Pro COB Headlamp combines a 230-degree COB flood beam with a separate SMD spotlight, four white-light modes, USB-C charging, motion-sensor control, 45-degree tilt and IPX4 splash resistance.
Use the wide beam for close work, the spot beam when you need reach, and lower modes whenever they provide enough visibility. That task-first approach is more useful than running maximum brightness by default—and it leaves more runtime in reserve for the rest of the job.
Safety note: This article offers general lighting guidance, not a substitute for applicable regulations, site-specific hazard assessments, manufacturer instructions or competent safety supervision.
Best Headlamp for Hiking at Night: What to Look For
How to Choose a Headlamp for Running at Night