

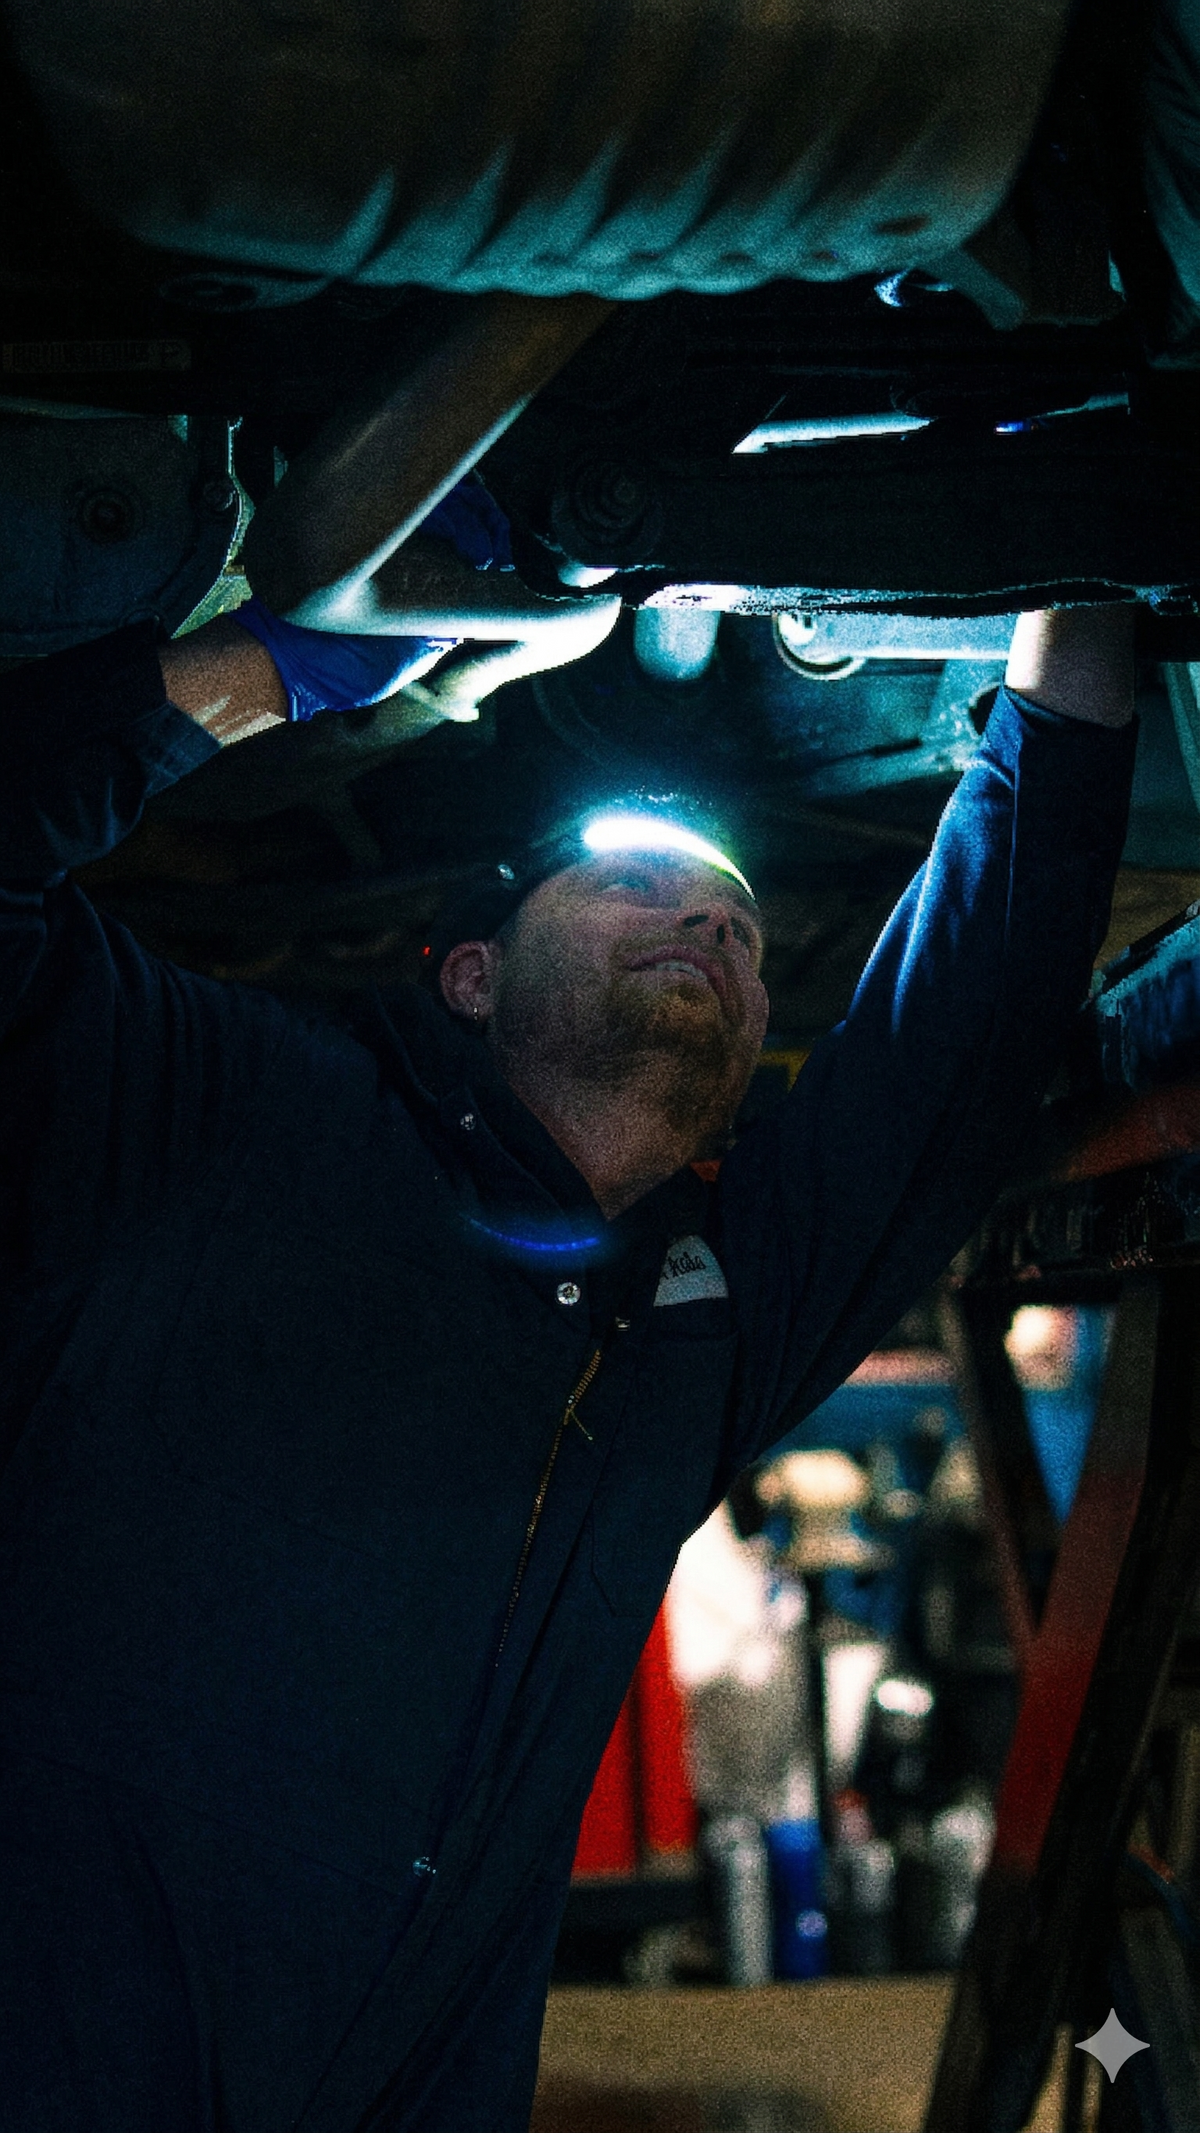
The most useful engine-bay lighting setup is not one extremely bright lamp aimed straight down. It is a layered setup: broad light for the whole bay, a headlamp that follows your line of sight, and a small fixed light placed from the side to fill deep shadows.
This approach helps you see the overall routing first, keep both hands available during the job, and inspect hidden areas near the firewall, beneath hoses, or behind components without constantly repositioning one flashlight.
Why overhead shop lights are not enough
An open hood blocks part of the ceiling light, while the engine, cowl, fenders, and technician all create additional shadows. Even a bright ceiling fixture can leave the back of the engine bay or the area below an intake tube difficult to see.
More brightness from the same overhead direction does not always solve the problem. The better fix is to bring light closer to the work and use more than one angle.
The three-layer engine-bay lighting setup
| Lighting layer | Purpose | Best position |
|---|---|---|
| General bay light | Shows the overall workspace, tools, and component routing | Above or beside the vehicle without creating glare |
| Headlamp | Keeps the area you are looking at illuminated while both hands work | Centered and adjusted to your working angle |
| Fixed side light | Fills the shadow created by your head, hands, or nearby components | Off-axis on a stable mounting point |
You will not need all three layers for every quick inspection. Start with the broad overview and add the other layers only where the shadows demand them.
Step 1: light the whole engine bay
Begin with enough general light to identify the work area before reaching into the bay. Confirm the location of tools, fasteners, fluid caps, wiring, hoses, and any hot or moving components relevant to the job.
The Beamfort Pro COB Headlamp uses a 230-degree COB flood beam with high and low settings. The wide beam is useful for close-range coverage because it spreads light across more of the bay instead of creating only one narrow bright spot.
Use the 500-lumen COB high setting for a brief initial survey when needed, then try the 150-lumen COB low setting for routine close work. Lower output may be more comfortable around reflective metal, light-coloured paint, and glossy plastic while also extending runtime.
Step 2: aim your headlamp at the working plane
A headlamp is most effective when its beam lands where your hands will work—not on the hood liner, your tool cart, or the top of the engine cover. Put it on, assume your actual working posture, and adjust the angle before starting.
- For work near the front of the bay, angle the beam slightly downward.
- For the firewall or rear of the engine, raise the beam and move your head through the same viewing angles you will use during the task.
- If a bright reflection hides detail, reduce the output or shift your head a few degrees rather than adding more brightness.
- Test the motion-sensor control before leaning into the bay so nearby objects do not switch the light unexpectedly.
The Beamfort headlamp also has a separate SMD spotlight with 55-lumen high and 15-lumen low settings. Use that focused beam for a specific deeper point; the COB flood and SMD spotlight are separate modes and do not operate together.
Step 3: add a fixed side light to remove hand shadows
A forehead-mounted beam travels close to your viewing angle. That is convenient, but your hand, ratchet, hose, or component can still block it. A second light positioned from the side creates a different light path and exposes the detail hidden behind that obstruction.
The Beamfort Pocket Light provides white task lighting and warm yellow lighting in a slim aluminum-alloy body. Its clip can help place it on suitable material, while its bottom magnet can attach to a clean, stable ferrous surface. Not every hood, bracket, body panel, or engine component is magnetic, so check the surface before relying on the magnet.
Place the secondary light where it cannot fall into the engine bay, contact a hot surface, interfere with the hood, or sit near a moving component. Give the mounting point a gentle stability check before beginning work.
Best light positions for common engine-bay tasks
Fluid-leak inspection
Use the broad flood for orientation, then place a side light so it shines across the suspected area rather than directly from your viewing angle. The angled light can make surface changes and wet edges easier to distinguish. Clean the area only according to the appropriate repair procedure, and do not identify a fluid by colour alone.
Belts, pulleys, and front-engine components
With the engine off and the vehicle secured as required for the job, angle the headlamp downward from your normal standing position. Avoid placing a loose work light, cable, cloth, or tool where it could contact a belt, pulley, or fan if the engine is started.
Firewall and rear-engine access
Use the headlamp for line-of-sight work and place the fixed light lower or to one side, aimed toward the rear of the bay. This prevents your upper body from blocking the only light source when you lean forward.
Electrical connectors and labels
Start with moderate brightness to control glare from connector housings and labels. Use the spotlight only when you need a more concentrated view. Follow the manufacturer’s service information and the applicable electrical precautions before disconnecting components.
Safety checks before working under the hood
Lighting makes work easier to see, but it does not make an unsafe condition safe. The Canadian Centre for Occupational Health and Safety advises securing the hood, taking precautions around hot components, and using extreme caution around a running engine, fan blades, and belts.
Before positioning portable lights:
- secure the vehicle and hood according to the job and workplace procedure;
- allow hot components to cool when the service procedure permits;
- keep lights, straps, cables, clothing, and tools away from moving parts;
- follow the vehicle manufacturer’s service information and isolation procedures; and
- use suitable eye protection and other PPE for the task.
If diagnosis requires the engine to run, the lighting setup must remain secure and clear of moving and hot components. Do not retrieve or reposition a fallen light near rotating parts while the engine is running.
A repeatable engine-bay lighting routine
- Survey: illuminate the whole bay and identify the work area.
- Set your headlamp: adjust the fit, angle, beam, and brightness from your real working posture.
- Check shadows: move both hands into position before picking up tools.
- Add side light: fill only the dark area that remains and confirm the mount is stable.
- Recheck safety: verify that every light and cable is clear of heat and movement.
- Inspect again: change the beam angle for the final check instead of trusting a single viewpoint.
For a deeper comparison of the two tools, see Pocket Work Light vs. Headlamp for Mechanics. In many engine-bay jobs, the headlamp handles the work you are looking at while the pocket light fills the shadow your body creates.
How Long Does a Rechargeable Headlamp Last? Runtime Explained
White Light vs. Warm Light for Close Work: Which Should You Use?