

A magnetic work light is most useful when you treat its position as part of the job—not simply as a place to park the light. The basic rule is to mount it slightly above or beside the work area, aim it across the surface, and keep your hands and tools out of the beam path. That angle usually reveals edges and texture while reducing the hard shadow created by lighting directly from behind your head.
Why work-light position matters
More brightness does not automatically produce a clearer view. A poorly positioned light can put your hand, wrench, drill, or body between the beam and the task. It can also reflect straight back from metal, glass, or glossy plastic. Moving the light a short distance to one side often improves contrast more than turning it up.
A compact magnetic light gives you a practical advantage: you can separate the light source from your body and attach it to a suitable steel surface. That makes it easier to choose the direction of the beam instead of accepting whatever angle a ceiling light or flashlight provides.
Start with a stable mounting point
Before switching on the light, find a clean, flat, ferrous surface that can support it securely. The magnet will not hold to aluminum, many stainless-steel alloys, plastic, wood, or painted surfaces with a thick non-metallic layer. Test the attachment gently before releasing the light.
- Wipe away loose dirt, oil, or moisture that could let the light slide.
- Choose a surface away from moving parts, sharp edges, and excessive heat.
- Keep the light and its charging port clear of liquids.
- Do not place it where a bump could drop it into machinery or onto a person.
For repair work, shut down and secure equipment as required before reaching into the work area. A light improves visibility; it does not replace the safety procedure for the task.
Use these five positions to control shadows
1. Above and slightly ahead
Mounting the light above the task and a little in front of you works well inside cabinets, utility spaces, and service compartments. Your head and shoulders stay behind the beam, so they are less likely to block it. Aim the light downward at a shallow angle rather than straight at a shiny surface.
2. From the side opposite your working hand
If your dominant hand keeps casting a shadow, move the light to the other side. A right-handed person can often get a clearer view with the light mounted to the left, and vice versa. This is especially useful for marking, fastening, connecting, or inspecting small parts.
3. Low and across the surface
A low, raking angle can make edges, gaps, surface damage, and small hardware easier to distinguish. Place the light to the side so the beam travels across the work rather than directly toward your eyes. If reflections are distracting, shift the light a few inches at a time until the glare moves away from your viewing angle.
4. Behind the component, facing outward
When working around a pipe, bracket, panel, or other obstruction, try lighting from the far side. Backlighting can define the outline of a part and reveal where access is blocked. This position is useful for inspection, but you may still want a second light on the front of the task for detail.
5. As a fill light beside a headlamp
A headlamp follows your line of sight, which is convenient but can flatten detail or create a shadow behind your hands. A magnetic work light placed off to one side adds a second angle. The headlamp shows wherever you look; the fixed light keeps the work zone consistently illuminated.
This two-light setup is useful for jobs that involve repeated glances between tools, fasteners, instructions, and the work surface. Beamfort's Pro COB Headlamp provides a 230-degree wide COB beam plus a separate SMD spotlight, while the Pocket Light can stay positioned on the task.
A quick positioning routine
- Mount: Attach the light to a stable steel surface and confirm that it holds.
- Aim: Point the beam across the task from above or from the side.
- Check: Put your hands and main tool in working position.
- Adjust: Move the light until hand shadows and reflections leave the area you need to see.
- Add a second angle if needed: Use a headlamp or another task light when one beam leaves a deep shadow behind the component.
Make the check with your hands in place. A setup that looks bright while the task is untouched may change as soon as you pick up a tool.
Common placement mistakes
- Directly behind your head: Your body blocks the beam as you lean closer.
- Straight at reflective metal: The brightest reflection can hide the detail you are trying to see.
- Too close to the task: A very close light can create a small hot spot and sharp shadows. Back it up when space allows.
- On an untested surface: A surface that looks like steel may not be magnetic, and curved or dirty metal can reduce the hold.
- Where controls are hard to reach: Position the light so you can change it or remove it without reaching through a hazardous area.
Choosing the light for the setup
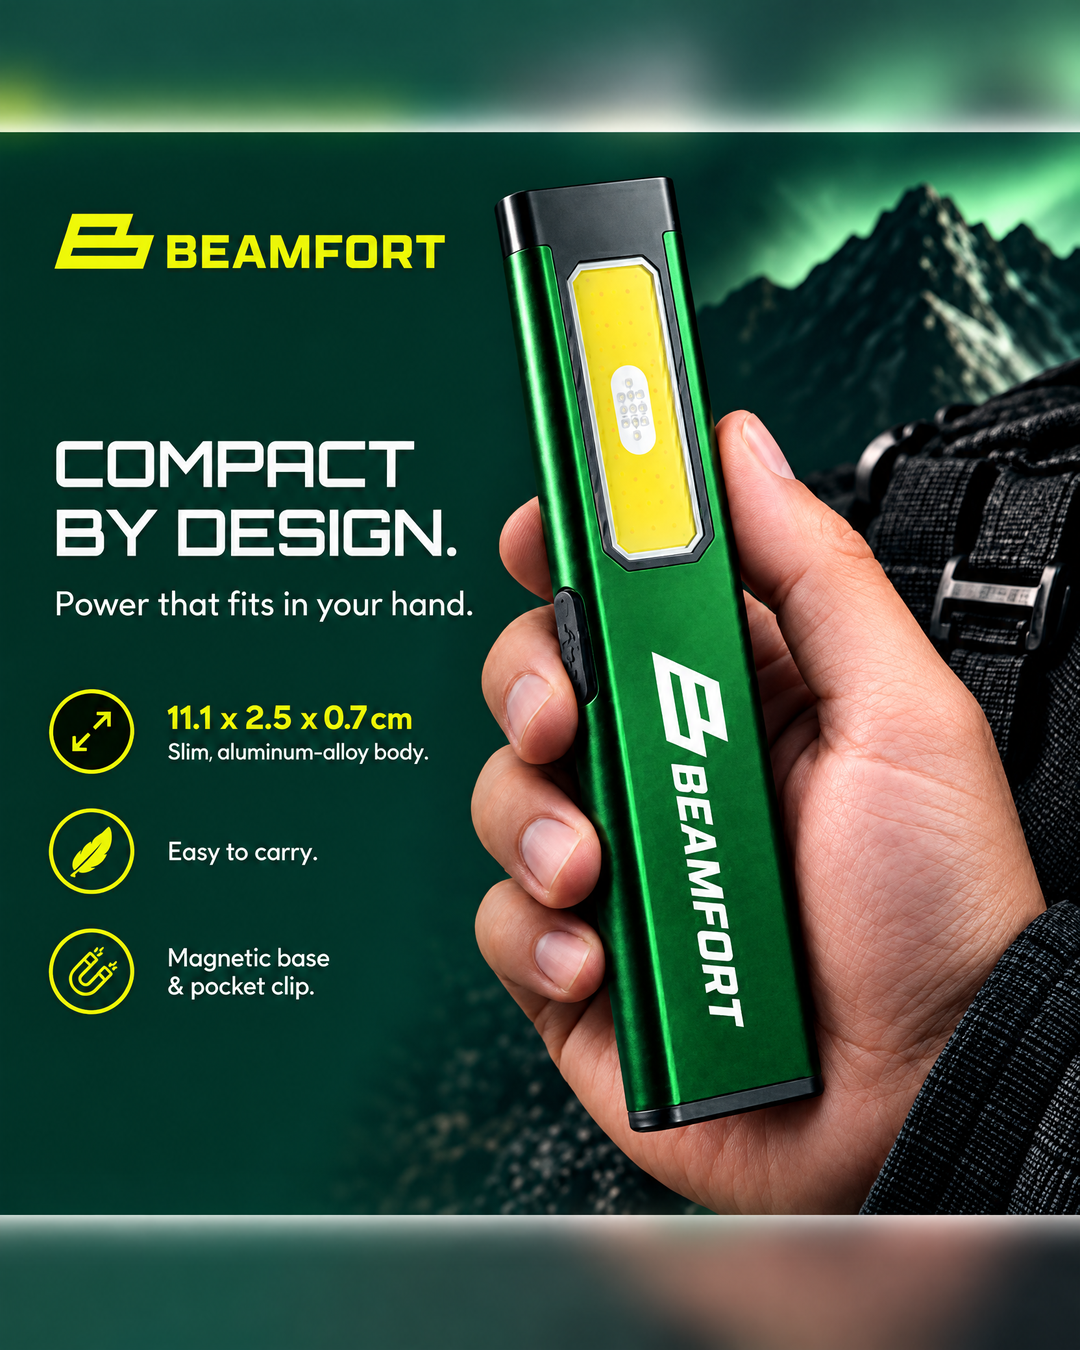
The Beamfort Pocket Light has a slim aluminum-alloy body, an integrated pocket clip, a bottom magnet, white task lighting, warm yellow lighting, and USB-C charging. Its compact form makes it easy to carry and reposition for close-range tasks.
For work that requires constant movement, a headlamp may be the better primary light. For a fixed task, a magnetic pocket light can hold a repeatable angle. Many jobs benefit from both. For a fuller comparison, read Pocket Work Light vs. Headlamp: Which Is Better for Mechanics?
Build the angle before adding brightness
When a work area is difficult to see, adjust the light's direction first. Mount it securely, move it off your line of sight, and aim it across the task. If one angle still leaves a deep shadow, add a second light from another direction. A few seconds spent positioning the beam can make close-range work clearer and more comfortable.
Power Outage Lighting: How to Prepare Your Home
Flood Beam vs. Spotlight: Which Headlamp Beam Should You Use?